Monday, February 28, 2011

California Fruit Bars

As a native Californian, I grew up spoiled by produce. As I've pointed out before, we had all the dried apricots we wanted. My father's cousins were almond and walnut growers, and we had a large freezer full of nuts. And of course there were the U-Pick farms and our backyard fruit trees and artichoke bush. I had grown up and moved to St. Louis before I realized that people actually paid good money for all these things.

So these California fruit bars give me a twinge of nostalgia for the days of a freezer full of goodies. Or Hadley's Orchards. Or even Trader Joe's. But still, look at the mixture of dried fruit I got from my favorite market vendor, the one who sells dried fruits and nuts and olives and beans and grains and spices. The one who flirts shamelessly with every woman who buys from him. The products he sells are really good, too. This "macedoine" had two kinds of apricots--sulfured and nonsulfured--, dried peaches, dried pineapple, and dried apples. I added some prunes because I love French prunes.

This is kind of a strange recipe. There's no butter, but lots of brown sugar (a whole pound--though I cut that down by a few ounces). You cook the eggs and sugar into a kind of custard before adding the flour and then the fruit and nuts.

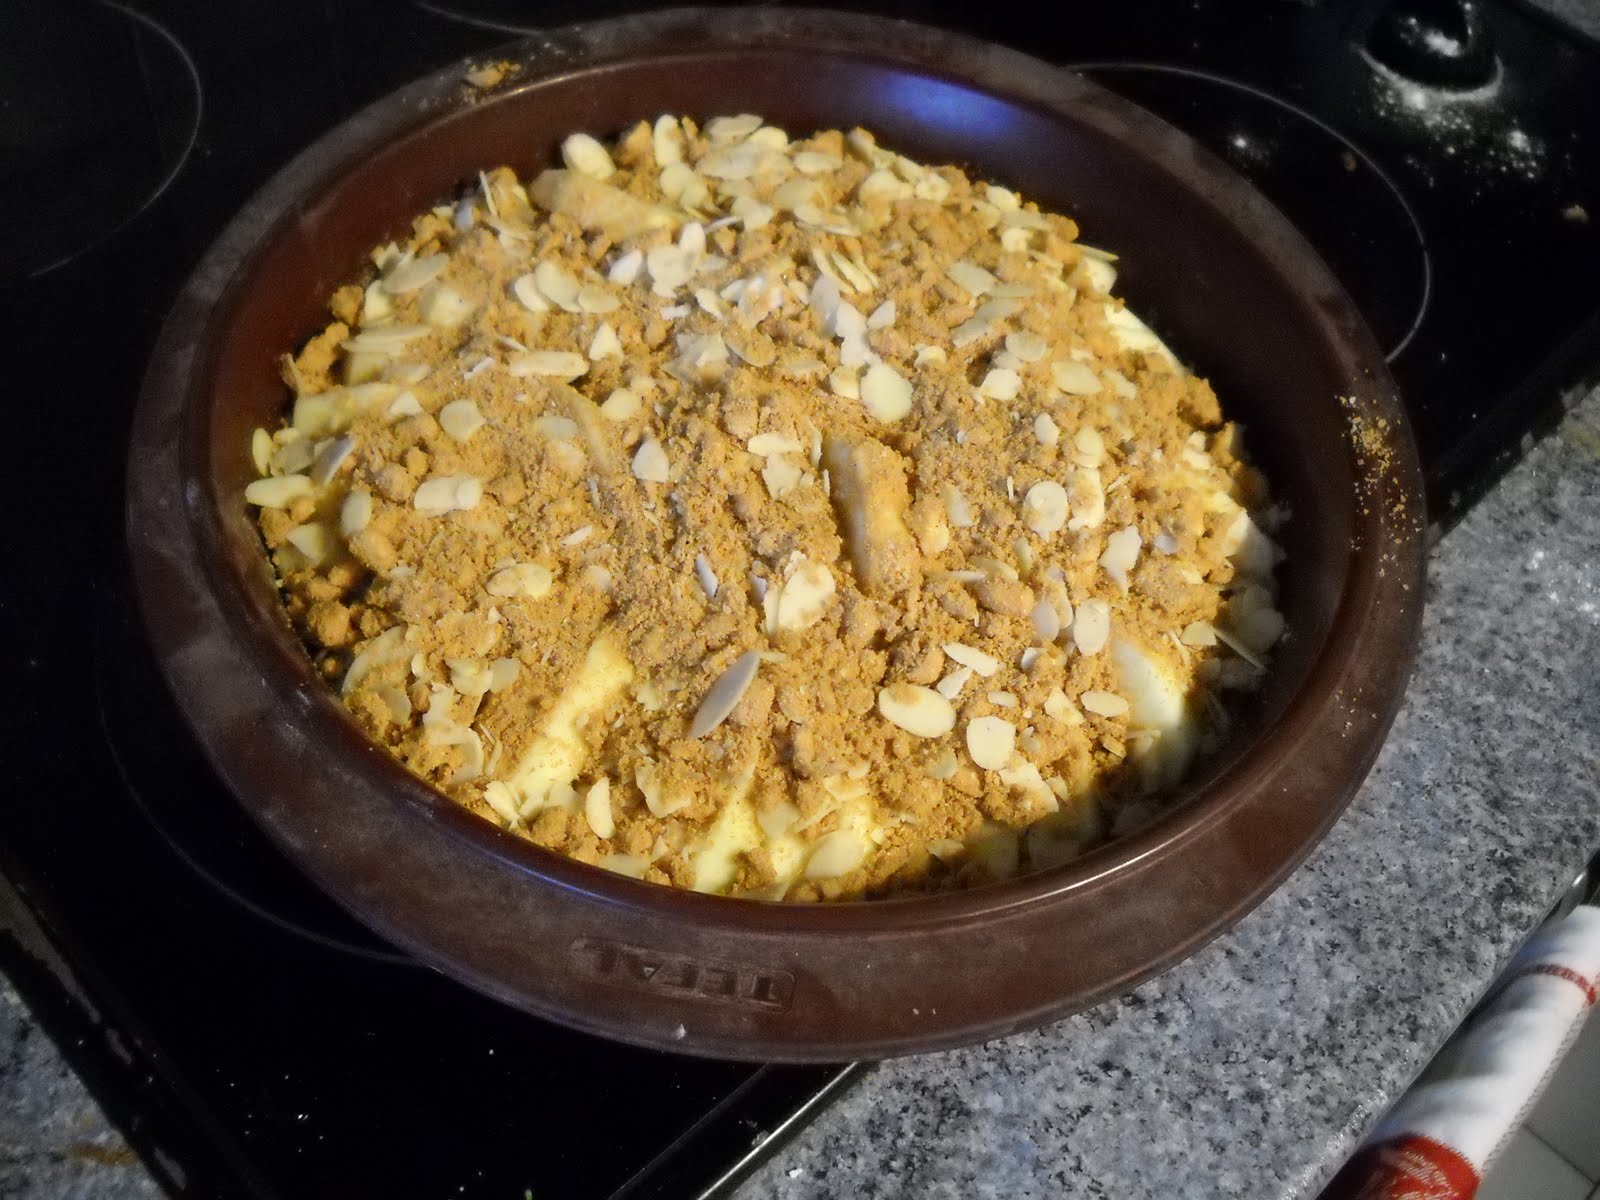
What you end up with is a rather nasty-looking mixture--the photos I took of the bars ready to bake were not at all appetizing, let me just say.

But what you get is a chewy, fruity, crunchy bar--sweet and tart with a nice caramel flavor from the brown sugar. It's California in so many ways--first of all, the fruit and nuts, but also that crunchy granola vibe. And like crunchy granola, these bars seem really healthy but are probably packed with calories. They'd make a great trail snack or breakfast, I think.

Here's the recipe. Make it when you have some really nice dried fruit (from California or elsewhere) and want to give it the spotlight.

California Fruit Bars

1-2 c. (8-12 oz.) mixed dried fruit (Use your favorites; dates may be too sweet for this.)
4 large eggs
scant 2-1/2 c. (14 oz) brown sugar
1/4 t. salt
1 t. vanilla
2 c. (8 oz.) sifted flour (I used part whole wheat)
2 c. (7 oz.) walnut halves or large pieces

Use scissors to cut the fruit into small pieces or larger chunks--Maida says either way is fine. Place in a steamer basket over simmering water and let steam about 15 minutes--the fruit should become very soft.
Heat the oven to 400. Line a jelly-roll pan (10.5 by 15.5 inches) with foil or parchment; grease or butter the foil.
In a medium, heavy-bottomed saucepan, whisk together the eggs, sugar, and salt well. Cook the mixture over medium-low heat, stirring and scraping with a rubber spatula, until the sugar is completely melted--feel or taste to be sure. Take off the heat and add the vanilla. Then stir in the flour, one cup at a time, whisking well after each addition. Add the fruit and then the nuts, stirring carefully to make sure it doesn't clump up. Spread the mixture into the prepared jelly roll pan.
Bake for 15-16 minutes or until the cake is golden and shiny. Let cool in the pan before unmolding. Peel off the paper and use a long, thin knife to cut into bars of the size you'd like--since these are rather dense, smaller is probably better. Wrap individually or store in a sealed container. Enjoy the sunshine.

Sunday, February 27, 2011

Butterscotch Custard Sauce


This is a recipe there shouldn't be much to say about--it's a regular old crème anglaise or custard sauce with brown sugar instead of white sugar.
But custard sauce is a tricky thing to get just right. All fears of curdling aside, what's the right proportion of egg yolks to milk? Milk or cream? I have a French cookbook that calls for 6 egg yolks for a liter of milk; I saw an Australian recipe calling for 10. Most recipes have some milk and some cream. A lot of people use custard powder or vanilla pudding mix to make custard sauce.
Maida's recipe here takes a nice middle path--4 egg yolks, 1 cup milk, 1 cup cream. No other thickener. And for once, she's conservative with the sugar--where many recipes have you use 1/2 cup of sugar for 2 cups of liquid, she's got only 1/3 cup.
So a decent consistency, not too sweet--but not very exciting, either. When I read "butterscotch", I think of a real "pow!" of toffee flavor--butter and brown sugar and even a bit of booze. I think I've been conditioned by recipes like this and this.
Still, it's a custard sauce, which is almost always a good thing.
It was very nice with the broiled peppered pears, and while we were eating it, Claire suggested it might taste good as ice cream. Why not? We eat a lot more custard sauce now than we used to, since mass-produced European ice cream is nasty. Since we were about to leave for vacation, I went ahead and put it in the freezer (no room for the ice cream maker in that tiny compartment), where it froze into a hard clump. Still, when thawed a bit and served with apple crumble, it was a real treat.

So here's the recipe. If you're looking for a nice basic custard sauce with a bit of a caramel-y undertone, you won't be disappointed.

Butterscotch Custard Sauce

1 c. (8 oz.) milk
1 c. (8 oz.) heavy cream (I don't see why you couldn't use 2 cups of half-and-half, if you have it)
1/3 c. (2.3 oz.) brown sugar
Pinch salt
4 egg yolks
1 t. vanilla (I used vanilla sugar for some of the brown sugar)

In a small pan over medium heat, or in a glass measuring cup in the microwave, heat the milk and cream with the sugar and salt (and if you have a used vanilla bean, throw that in as well) until it is steaming and a skin is beginning to form. Meanwhile, in a somewhat larger saucepan with a heavy bottom, whisk the yolks just to mix. Slowly whisk in the milk/cream mixture. Place over medium-low heat and cook, stirring and scraping with a heatproof rubber scraper, until the mixture thickens slightly and coats the back of a spoon (180 on a thermometer). Pour through a strainer into a bowl or back into that glass measuring cup you used earlier. Stir in the vanilla. Cool to room temperature, stirring it when you think about it. Then chill and serve very cold--Maida even suggests freezing this for a bit. Serve with anything--especially fruit or chocolate desserts--that needs a bit of a cool, creamy lift.


Broiled Peppered Pears

David Lebovitz just wrote a splendid piece about food blogging dos and don'ts. I know for sure that my photography falls under the "don't" category, with the cluttered counters and the bad lighting and the crappy camera. How he takes any pictures outdoors in the month of January, I'd like to know.
But one of the best pieces of advice he gave was that it's OK to post a short piece if you don't have a lot of time for a long one. So here's a short piece about broiled peppered pears.


This is the kind of recipe I like to run into when I have four pears on the counter, each in a state of "eat me now or throw me out!" The kind of recipe that's nice when my clothes are telling me, "Easy on the desserts, big girl!" The kind of recipe I can throw together after dinner and still get to bed before 10. You know, baked fruit.

For an easy recipe, this has a really nice, complex flavor--the Armagnac and the pepper and the honey work together to create a rich and spicy flavor that doesn't completely dominate the pears.
I have to admit that I didn't broil these--I was worried that my baking dish was not broiler-safe. I roasted them at about 425, and it took a bit longer than the broiler would have. I'm writing the recipe as Maida would have you do it, but know that roasting will give you good results as well.

Here's the recipe--it may be just the recipe you're looking for.

Broiled Peppered Pears

3-6 pears, depending on the size (I used 2 small Bosc and 2 small Comice)
3 T. honey
1 T. butter
3/8 t. freshly ground pepper
6 T. Cognac or dark rum (I used Armagnac)
Granulated or raw sugar

Heat your broiler (if you have a broiler-safe dish) or heat the oven to 425 (if you worry about your baking dish). Get out a baking dish big enough to fit all your pear halves in one layer and butter it. Peel the pears, halve them, and scoop out the cores with a melon baller. Place cut-side down in the baking dish. Drizzle the honey over and dot with the butter. Grind on the pepper (I think you can just eyeball what looks like enough to you). Finally, pour the booze into the bottom of the dish. Was that easy enough for you?
Put the pears in the oven or under the broiler and watch carefully. Baste and check them every 3 minutes or so. When they are just tender and beginning to brown, sprinkle with sugar and put them back under the broiler until the sugar melts and caramelizes. The whole process should take about 10-15 minutes.
If you're oven-roasting, go ahead and sprinkle on the sugar now. Roast for about 30 minutes, checking and basting every 10 minutes. You're also looking for golden color and some caramelization.
Enjoy these hot, with some crème fraîche or sour cream, or as we did, with a Butterscotch Custard Sauce--that will be the subject of my next brief post.

Wednesday, February 16, 2011

Cowtown Chocolate (Cup)cake(s)

Monday was not the best of days for me. On my way to work, I somehow managed to lose the necklace I had been wearing, at work I tripped over my laptop cord and sent it flying (with only minor cosmetic damage; Claire's watching a movie on that laptop as we speak), and then on my way home work the train stopped and we were told to get out because the last station (the closest to our apartment) was closed. So once I'd made the trek home (not too tragic: only a 25-minute walk rather than a 10-minute walk), I was ready for some Cupcake Therapy.

I think it's true for a lot of bakers that it's the process of baking, not necessarily the product, that is soothing.

That's really true for me: assembling the ingredients, melting, mixing, separating, beating...it's a happy process because it has predictable outcomes. And it smells good.

Because I wanted process rather than product, I turned the Cowtown Chocolate Cake, which is normally a layer cake, into cupcakes. I just halved the recipe and reduced the cooking time.

I knew that this would be a good recipe because it had my stamp of approval on it: a red moose in the shape of an M that my cousin Catie gave me when I was maybe in my early teens. A lot of my cookbooks have that stamp of approval.

My past self was right: This is a very good cake recipe. Two kinds of chocolate in the cake can't hurt, and then this was topped by a really nice ganache made from unsweetened chocolate (well, since I've almost run out of Baker's, I used 86% and cut down on the sugar).
Apparently this is a famous Texas recipe. All I know is that the cupcakes were fun to make and made a nice Valentine's Day treat. I would make them again even on a good day!

Here's the recipe: double it if you want to make a full-on layer cake. You'll probably have more frosting than you need for the cupcakes, but I trust you'll find some way to use it.

Cowtown Chocolate Cake

2.5 oz. unsweetened chocolate
1/4 c. (2 oz.) butter, room temperature
2 T. unsweetened cocoa powder
1/2 t. baking soda
1/4 t. salt
1/2 t. instant espresso
1/2 t. vanilla
scant 1/2 c. (3 oz.) sugar
scant 1/2 c. (3 oz.) brown sugar
2 egg yolks (save a white! and use the other white to make these)
3/4 c. (3 oz.) sifted flour
10 T. (5 oz.) buttermilk
1 egg white

Heat the oven to 350. Line about 10 muffin cups with cupcake liners. Melt the chocolate in a microwave-safe bowl--about 1 minute in 30-second bursts. Cream the butter with the cocoa, baking soda, salt, espresso, and vanilla until smooth. Gradually add the sugars and beat for 2-3 more minutes until fluffy. Add the egg yolks one at a time, beating well after each. Mix in the melted chocolate and beat until smooth. On low speed or by hand, stir in the flour in 3 additions interspersed with the buttermilk in two additions; mix just until incorporated each time. In a separate small, clean bowl and with clean beaters, beat the egg white until stiff. Fold it carefully into the cake batter. Portion among the muffin cups and bake for about 30 minutes--check after 25 or so. A toothpick should come out clean. Let cool on a rack while you make the frosting.

1/2 c. (4 oz.) cream
scant 1/2 c. (3 oz.) sugar
Pinch salt
2.25 oz. unsweetened chocolate
1/4 c. (2 oz.) butter
1/2 t. vanilla

In a small, heavy saucepan over medium heat, bring the cream, sugar, and salt to a boil. Turn down the heat and let the mixture simmer 6 minutes, stirring occasionally. Take the pot off the heat and add the chocolate and butter; stir until it is all melted and smooth. Stir in the vanilla.
Cool the frosting over an ice-water bath or in the refrigerator until it has become cool and a bit thicker. Use a mixer to beat it for a few minutes until it becomes a lighter color. Frost the cupcakes as you see fit. Share them with someone you love.

Sunday, February 13, 2011

Apple Kuchen

I'm starting to run out of fruit desserts I can make from American Desserts. Everything left in the "Shortcake, Cobblers, Pandowdy, Etc." section seems to involve either peaches or blueberries. Well, it's February, and let me tell you what I can get at the market: apples, pears, and oranges.

Fortunately, the recipe for "Peach Kuchen" allows the substitution of just about any fruit you'd like: apples, pears, blueberries. I went for the apple version, though I bet pears would be really great with the almonds.

This is an interesting cake because it involves both yeast and baking powder, but no rising time. That made it easier to make for Saturday breakfast.

I mentioned to my friends Gabriela and Cécile the other day that I was baking a cake for Saturday breakfast. They seemed to find that somewhat surprising, although really they shouldn't be surprised to find me baking at any time or day...

OK, dough ready. Maida wants you to use a frozen 9x13-inch pan and stretch out the dough very thin. I wasn't up for that, and neither was my freezer. So I did a large-ish cake pan, which seemed to work out well.

I only ended up using three of these guys, probably because I used the smaller cake pan. And this time my market guy was right on when he recommended this type for cake. No mush whatsoever!

To me what makes a cake a "breakfast cake" is streusel. Even though streusel has nothing healthy going for it.

Oh, wait--almonds. That counts, right?

So here's the cake ready for the oven: yeast dough, sliced apples, streusel. We've got grain, fruit, and a source of protein. This is breakfast food for sure! And may I add that everyone else was still sleeping when I took this picture?

Mmm...the finished product. Maida wants you to drizzle frosting over it, but let me just say that frosting would NOT add to the cake--it's pretty darned sweet as is. And delicious: the cake is just this side of bread-y; the apples held together nicely; the streusel added that special luxurious crunch. I'm not going to make something this involved for breakfast every Saturday, but it was certainly appreciated this week.

Here's the recipe, as I made it. Make it on any day you want to have your cake and breakfast too.

Apple Kuchen

1/2 c. (4 oz.) butter, room temperature
2 t. baking powder
1/2 t. salt
Grated rind of 1 large lemon or 1 small orange (I used the latter)
1/2 t. vanilla
1/4 t. almond extract
scant 1/2 c. (3 oz) sugar
2 large eggs
2 c. (10 oz) flour (I used about 1/3 whole wheat flour)
1-1/2 t. rapid-rise or instant yeast
6 T. (3 oz.) milk

Grease a 10-inch cake or springform pan. Beat the butter with the baking powder and salt until creamy; add the lemon rind, vanilla, and almond and beat a bit longer. Gradually add the sugar and beat about a minute, then beat in the eggs. Mix the yeast with the flour and add half of that, then the milk, then the other half of the flour mixture, beating on low speed just until incorporated each time. Scrape the batter, which will be pretty thick, into the pan and spread it around. Let sit in a warm place while you get the fruit and streusel ready. Heat the oven to 350.

3 apples (or pears, or peaches, or blueberries, or a combination)

Peel the apples; quarter and core them. Cut each quarter into 3-4 slices and arrange the apple slices decoratively on the cake. If you're using pears or peaches, do approximately the same thing; blueberries just need to be sprinkled on (I think I'd want a fairly thick layer).

scant 1/2 c. (3 oz.) brown sugar
1 t. cinnamon
1/4 t. salt
1/4 c. (1.25 oz.) flour
3 T. (1.5 oz.) butter
1/2 c. (2 oz.) sliced almonds

In a small bowl, mix the brown sugar, cinnamon, salt, and flour. Cut in the butter with a pastry blender, two knives, or your fingers. Mix in the almonds. Sprinkle the streusel over the fruit.

Put the cake in the oven and bake for about 30 minutes, or until a knife inserted in the center comes out clean. This is best when it's still hot or warm. Enjoy it with a nice cup of coffee or tea.

p.s. I just reread the recipe, which actually has you spread half the batter in the pan, layer in the fruit, and then carefully cover the fruit with the other half of the batter and then the streusel. If you're a stickler, you could do that, but I liked my way just fine.


Tuesday, February 8, 2011

Banana Pudding

We have this poster in our "water closet" right now; I'm not sure why. But it's a great reminder of the 10 years we spent in the South. This poster contains a lot of what we loved about the South: the quirky culture and humor (Southern Culture on the Skids has to be seen to be believed), the folk art (Dad got us this poster at the Kentuck Festival of the Arts, a reason for an annual pilgrimage to Tuscaloosa), and the food. My favorite Southern culinary invention: the vegetable plate. You get to choose four or five "vegetables", which might include macaroni and cheese, cottage cheese, or cobbler. Or banana pudding. (My favorite vegetable plate, for the record: collard greens, pinto beans, squash casserole, cobbler, cornbread. Mmmm...)

So I felt a bit nervous about recreating this Southern classic in my French kitchen. No worries, though--it's really just a kind of trifle, with vanilla wafers instead of cake.

About those vanilla wafers--strangely enough, they're not available here. So I used Petit Beurre biscuits, and they were perfect--they have that nice bland flavor and are sturdy enough to stand up to the pudding and bananas.

There are lots of variations on banana pudding: a lot involve Jell-o pudding and Cool Whip. That's another side of the South. Some involve meringue on top.


This one was simple: cookies, bananas, homemade pudding. No topping, whether whipped cream or meringue. Although the pudding took a while to come to temperature and all, it was really easy: I'm pretty sure I had this made within half an hour or so.


It's day old and bold, baby! We found that after a day, the bananas do indeed get "extra funky", so this is something you should make in the morning and consume all of in the evening. Or the next morning.

Here's the recipe. Enjoy a taste of the South!

Banana Pudding

1/3 c. (1.3 oz.) cornstarch
1/2 c. (3.5 oz.) sugar
1/4 t. salt
4 c. (I used a 1-liter bottle) whole milk
2 large eggs
2 T. (1 oz.) butter, cut into small pieces
1 t. vanilla
8 oz. vanilla wafers (you know, the yellow box) or a 200 g. package Petit Beurre
4 bananas, not too ripe

Get out a casserole or other serving dish that is fairly flat and shallow and holds at least 8 cups. Put a layer of about a third of the vanilla wafers on the bottom.
Now it's time to make the pudding. In a medium-sized, heavy saucepan whisk together the cornstarch, sugar, and salt; slowly whisk in the milk to avoid lumps. Put the pan over medium-low heat and bring to a boil, stirring just about constantly. This will take quite a while. While the milk mixture is heating, break the eggs into a bowl or glass measuring cup; whisk until well mixed. When the milk mixture has finally come to a boil, slowly and carefully pour about half of it into the beaten eggs, whisking all along (it's often good to have a helper when you're doing this). Then pour the egg mixture back into the milk in the pan and whisk that well. Put back over the heat and cook for 2 more minutes. The mixture will be quite thick. Off the heat, stir in the butter; when that is melted, stir in the vanilla. If you are worried about egg lumps, strain the pudding back into the bowl (washed or well scraped out) you mixed the eggs in.
Don't wait too long now: slice 2 of the bananas and spread them over the cookies. Pour half of the pudding over the bananas. Then repeat with cookies, bananas, pudding, and more cookies.
Cover with waxed paper or plastic wrap, pressed down on any exposed pudding if you don't like pudding skin. Let cool on your (cold) balcony or in your refrigerator for 4-6 hours and try to serve the same day. Easy on the teeth and gums!

Sunday, February 6, 2011

Everyone's Favorite Fudge

I have to say I wasn't looking forward to making this recipe: I don't really like fudge. I associate fudge with overpriced candy shops in touristy areas like Pigeon Forge, Tennessee. It's often way too sweet and has off flavors probably due to margarine or artificial flavors or the two. Bleaugh.

Another issue with fudge: it's hard to photograph. I took at least six photos of the finished product, and this terrible shot was the best of the bunch.

Another reason for skepticism: funky ingredients like evaporated milk and marshmallow fluff. Who cooks with marshmallow fluff? Even Maida seems skeptical. She claims to have put this recipe in her American Desserts book after people complained that her classic recipe was prone to failure--overcooking, undercooking, and (the bad kind of) graininess.

A word on marshmallow fluff: this is an Exotic Food Item here. I had to ask Sami to take me to the local hypermarché so that I could shell out 7 Euros or something for this jar of fluff. The sacrifices we make for art...


Do I sound whiny? Maybe that's because all my delicious fudge is almost gone. When I was dreading making it, I forgot an important factor: although I was using marshmallow fluff, I was also using French butter. And French chocolate.

I even cut down on the sugar a little bit, and the fudge still came out with a nice, smooth texture.


And this was really easy, as promised: put ingredients in pot, boil for a while, take off heat, add chocolate and nuts. Stir and chill. Try to resist.
I made this for a gathering we had with friends--six adults and six mostly teenaged children. There were six or seven snack-dinner type items and then four desserts, including this fudge and the banana pudding that I hope to post about soon. I figured, hey, teenagers, they'll eat anything, so they can eat the fudge if it's not that great. Well, what I noticed was the adults going to get a piece of fudge. Then going back for another piece. And then very casually wandering back to the dessert table for another one. I'm not entirely convinced the kids had a fair shot at the fudge. I'm just glad I gave this fudge a chance.

Here's the recipe. Use the best chocolate you can, and be sure to share.

Everyone's Favorite Fudge

2/3 c. (5.3 oz.) evaporated milk
7 oz. marshmallow fluff/creme (jar sizes may vary: check yours carefully!)
1/4 c. (2 oz.) butter
scant 1-1/2 c. (9.5 oz.) sugar
1/4 t. salt
12 oz. semisweet chocolate--chips or cut-up bars
1 t. vanilla
2 c. (7 oz.) walnuts or toasted pecans (Maida says these are optional, but in my book, they aren't)

Line an 8-inch square pan with parchment or foil. Get out a medium to large saucepan and put the milk, marshmallow fluff, butter, sugar, and salt in it. Put the pan over medium-low heat and start stirring. You want to bring this to a boil without letting the bottom burn, which is rather a tricky thing. When it comes to a full boil (this takes forever, and as the recipe on the marshmallow fluff jar stated, "be careful not to mistake air bubbles for boiling."), set the timer for 5 minutes and keep stirring occasionally. If you have a thermometer, check the fudge at the end just to be sure--it should reach about 226 degrees F. Mine wasn't quite that hot at the end of the cooking time. There will be some caramelization as it boils, and that's OK--just stir to make sure nothing burns.
Take the pot off the heat and add the chocolate; stir until the chocolate is melted and the mixture is smooth. Now add the vanilla and nuts. Pour the mixture into the prepared pan. Let cool and then chill--this did well on my cool balcony.
When you're ready to serve this, use a long, sharp knife to cut it into small pieces--ours were about 1/2-inch square. Prepare to become very popular indeed.

Wednesday, February 2, 2011

Walnut Cake

I learned a few lessons from making this cake. The first is that if I wait to take pictures until the light is good enough, they won't get taken. Thus there's only this one picture.

Next lesson: Don't count on leftovers even with a large Bundt cake when there are a lot of hungry expat ladies around. Especially when the cake is really good, as this one appears to have been. The only taste I got was the crumbs that stuck to the pan. Delicious.
Final lesson, somewhat disturbing to me: I now have A Reputation for Cake. I brought this cake to a gathering of said expat ladies--we were gathering to learn more about how to find a job in France. Much information was shared, many stories were told. And of course there was food--an Italian buffet and a table covered with homemade cakes, one of which was this one. I was standing around eyeing the wares when my friend Gabriela pointed to the walnut cake and said, "That one's yours, right?" Guilty as charged. How did she know? "Your cakes are always so...grainy." I assume that was a compliment. Since she later confessed that there was no more cake because she had stashed a few slices in her bag, I think it was.
So...to the cake. It's just a really good pound cake, grainy with walnuts. The nutmeg and brandy give it a festive touch, and the walnuts cut the general sweetness that is a hallmark of these Maida desserts. Good stuff.

Here's the recipe. Make it when you have a lot of people to feed, or make it for yourself and enjoy the graininess.

Walnut Cake

2-1/2 c. (9 oz.) walnuts
1 cup (8 oz.) butter
1 t. baking powder
1/2 t. salt
1/2 t. nutmeg
1 t. vanilla
1/4 t. almond extract
5 t. brandy
2 scant cups (12 oz.) sugar
5 large eggs
2 c. (8 oz.) flour (I used a bit of whole wheat)

Heat the oven to 325 (170) and get out a tube or Bundt pan. Butter the Bundt pan really well. Then grind about 1 cup of the walnuts in a food processor and pour them in the pan. Shake the pan and sprinkle the nuts around the tube, coating the pan as well as you can. Pour a few of the excess nuts into a small bowl for later. While you have the food processor out, use it to pulse the remaining walnuts until they're chopped medium-fine.
Cream the butter in the large bowl of a mixer with the baking powder, salt, and nutmeg until light and fluffy. Add the vanilla, almond extract, and sugar and beat at medium-high speed for about 2 minutes. Beat in the eggs, one at a time, beating until each is incorporated. After you add the last egg, beat the mixture for about a minute. On low speed, beat in the flour and then add the walnuts, either mixing by hand or very carefully with the mixer. Pour the batter into the prepared pan and then sprinkle the reserved walnuts on top.
Bake for about 1-3/4 hours (check after 1 hour, and every 10-15 minutes after that), or until a toothpick inserted in the center comes out clean. Let cool in the pan for 20-30 minutes, then invert on a plate. My cake did not want to come out, even after I ran a spatula around the edges, so I just let it sit upside down and eventually it came out fairly cleanly.
Let cool completely, slice relatively thinly, and get in line for a slice.